I have recently started working with a VMware Cloud Service Provider where I have the role as an architect. They are running VMware Cloud Director (VCD) on top of VMware Cloud Foundation (VCF), and while I have quite a bit of experience with VCF, I haven’t worked a lot with VCD so I thought I should install it in my lab to get some experience with it and have a test bed for future exploration.
This post will show you how I deployed VMware Cloud Provider Lifecycle Manager, then using it to deploy VMware Cloud Director 10.5. Everything will be deployed into a cluster running on VMware Cloud Foundation 5.0. VCD can be deployed manually but I decided to use VMware Cloud Provider Lifecycle Manager for the following features:
- Deploy VMware Cloud Director, VMware Chargeback, RabbitMQ, and vCloud Usage Meter using manual input or a json file.
- Redeploy a Product Node.
- Add a new node to an existing product deployment.
- Change passwords.
- Manage Product Certificates.
- Add VCD integrations.
- Upgrade VMware Cloud Director, VMware Chargeback, RabbitMQ, and vCloud Usage Meter.
- Activate and deactivate a maintenance mode status for VMware Cloud Director cells.
Cloud Provider Lifecycle Manager must be downloaded as an OVF file from VMware and deployed in vSphere. There is not much to be configured during the deployment, but I chose to connect it to my Region-A segment which is one of the Application Virtual Networks that VCF deploys. Most of the settings are self-explanatory but when asked to provide “NFS share to mount as VCP LCM repository” you may choose to leave it blank and it will use a local directory on the appliance instead. This is ok for lab purposes but not in a production environment.
VMware Cloud Provider Lifecycle Manager creates a separate repository directory for every product that the appliance can manage. Deployment OVA files should be uploaded to /cplcmrepo/product-type/version-number/ova, and update OVA files should be uploaded to /cplcmrepo/product-type/version-number/update. I started with uploading the “VMware Cloud Director 10.5 - Virtual Appliance Installation or Migration” OVA file.
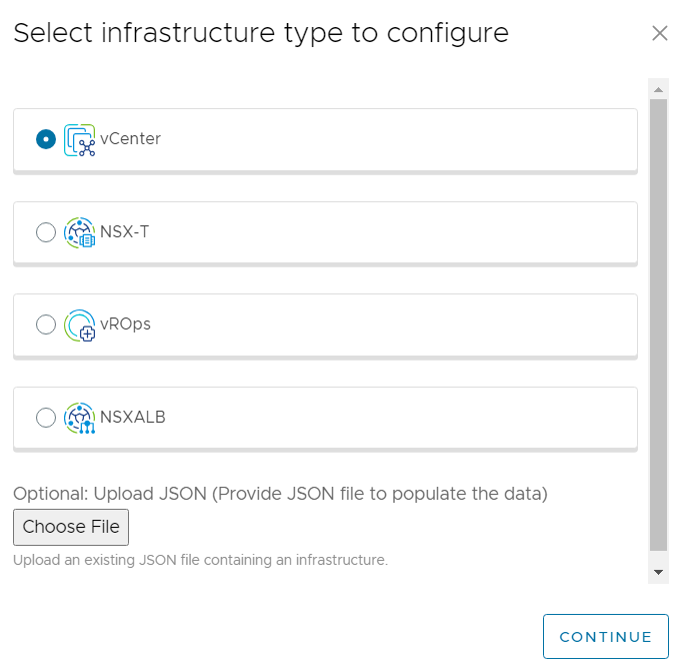
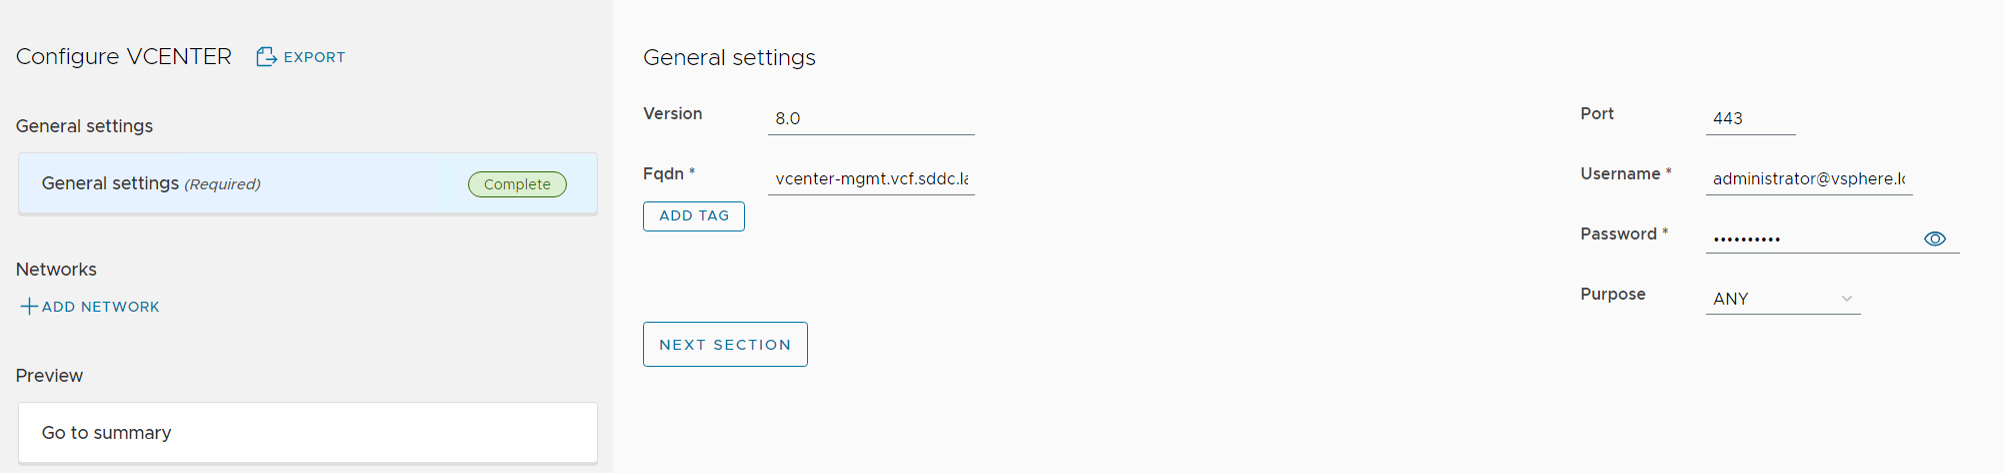
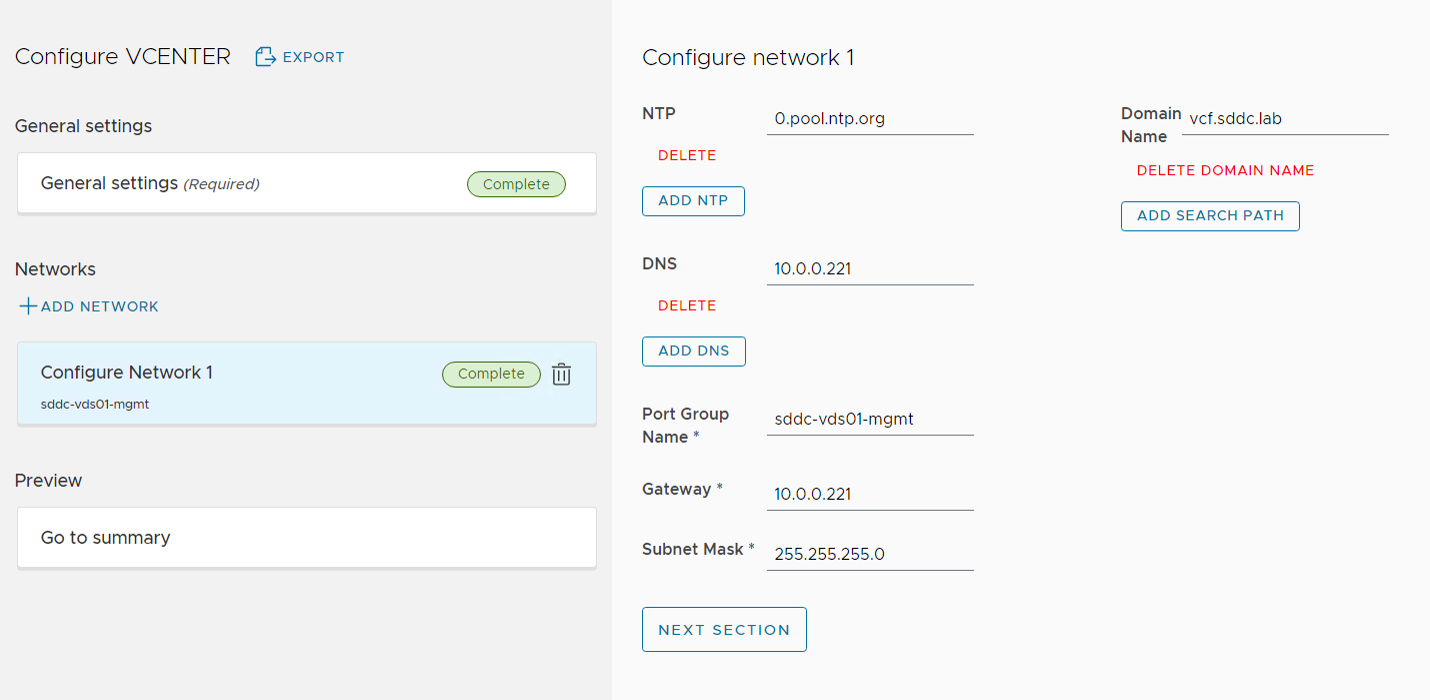
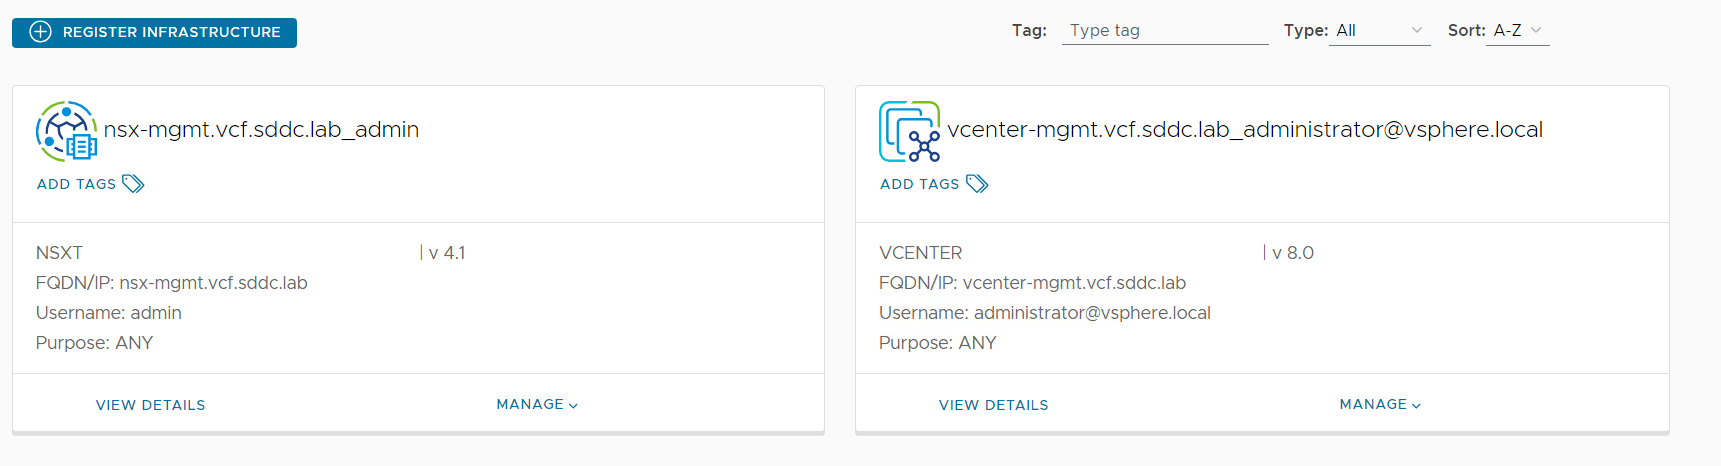
I logged in to the user interface at https://cloud-lcm.vcf.sddc.lab/ using the vcplcm user, then registered my vCenter and NSX-T Manager under the Infrastructures tab:

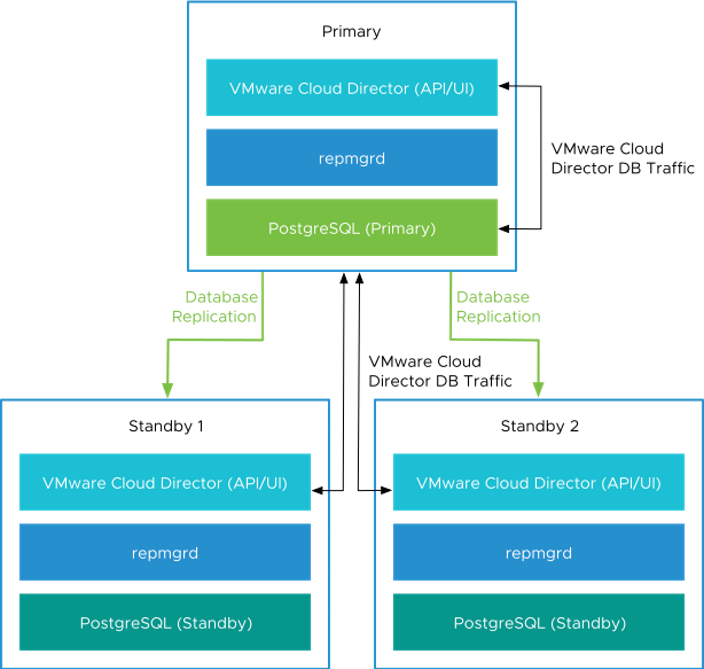
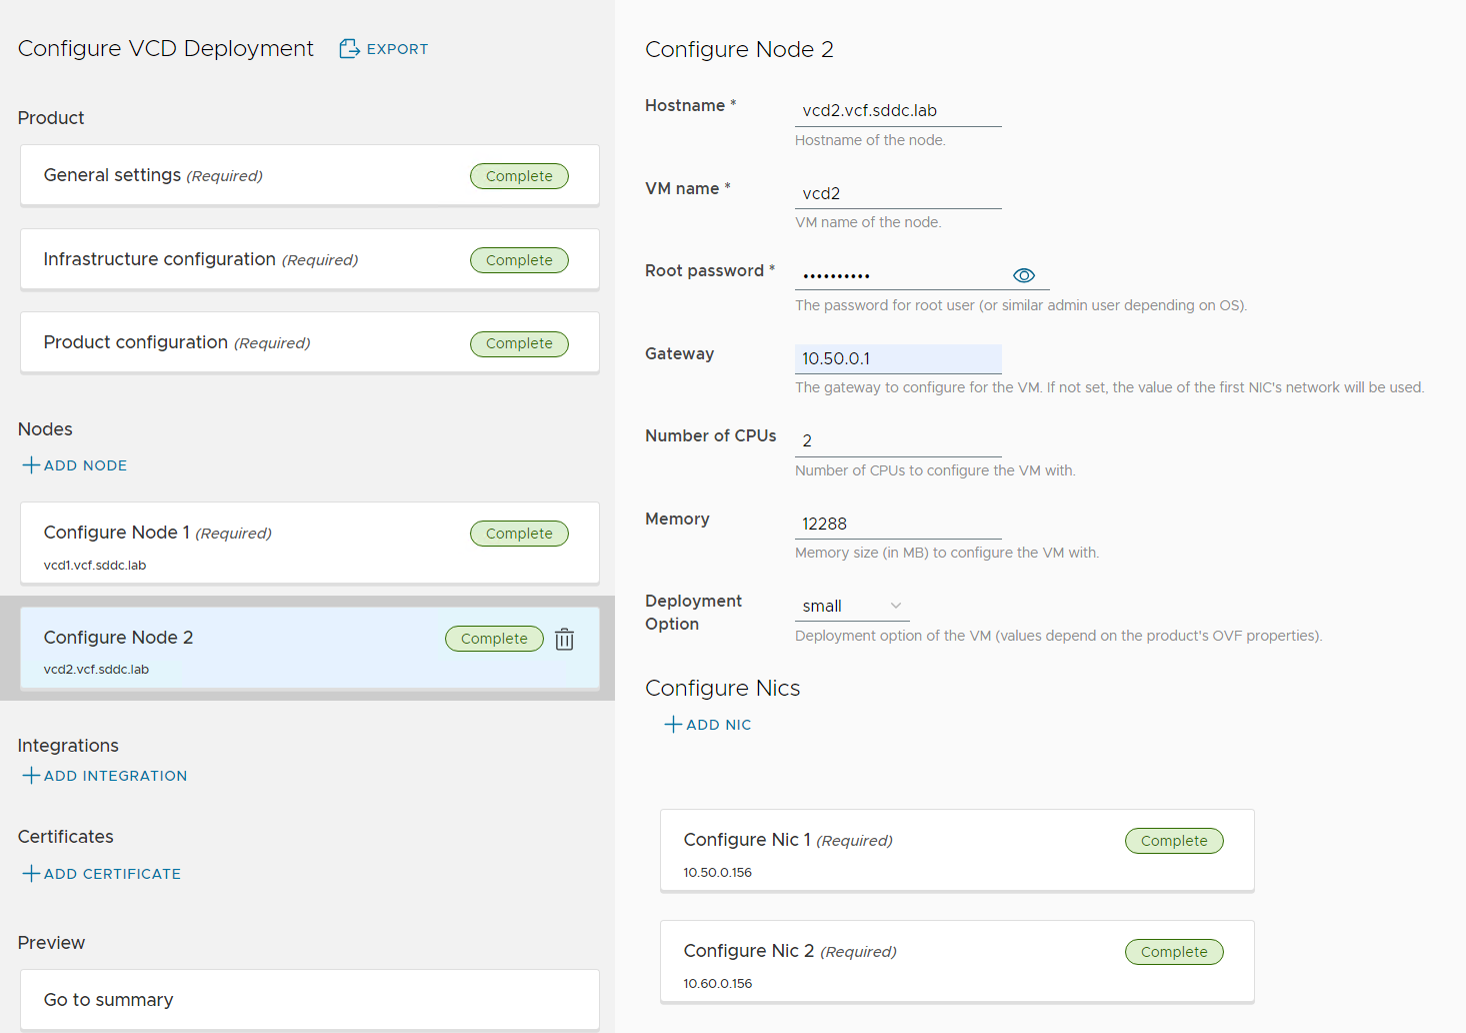
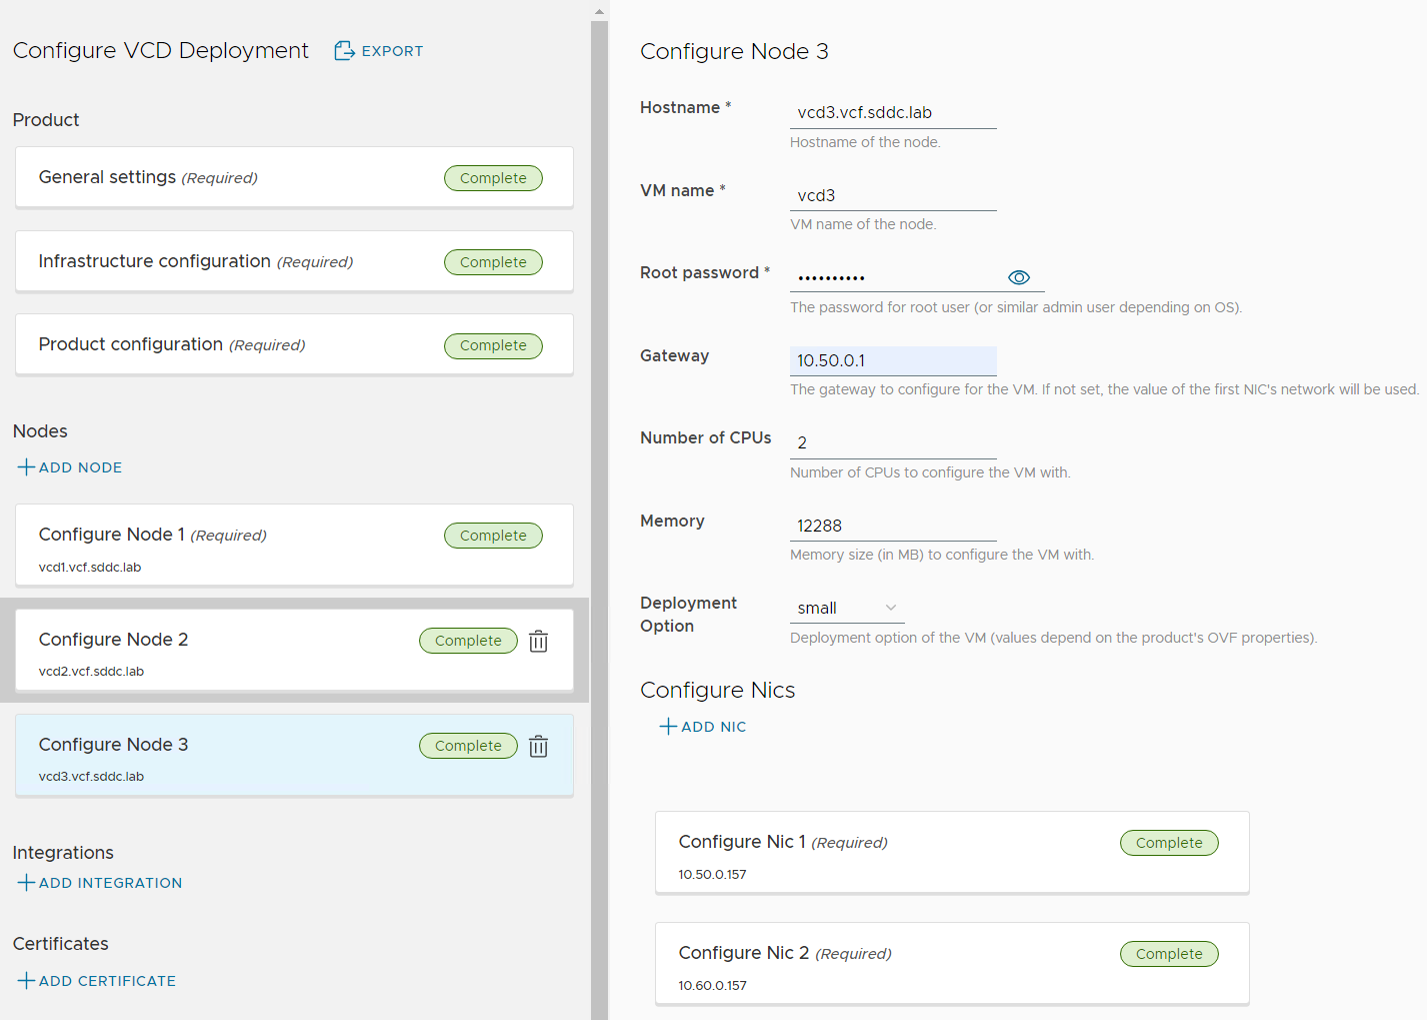
My intention was to deploy a VMware Cloud Director Appliance Database HA Cluster with one Primary cell and two Standby cells like this:
I had already set up an NSX-T Load Balancer to use with the VCD cluster according to this doc.
One single SSL certificate was created using https://certificatetools.com/, imported into NSX-T Manager, added to the LB, and used when deploying VCD.
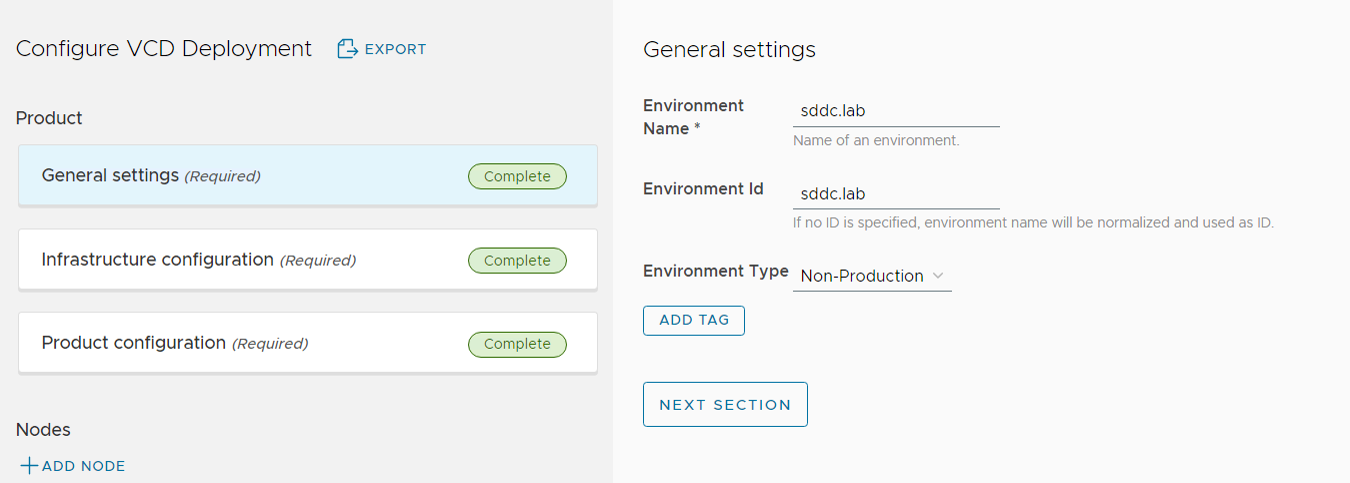
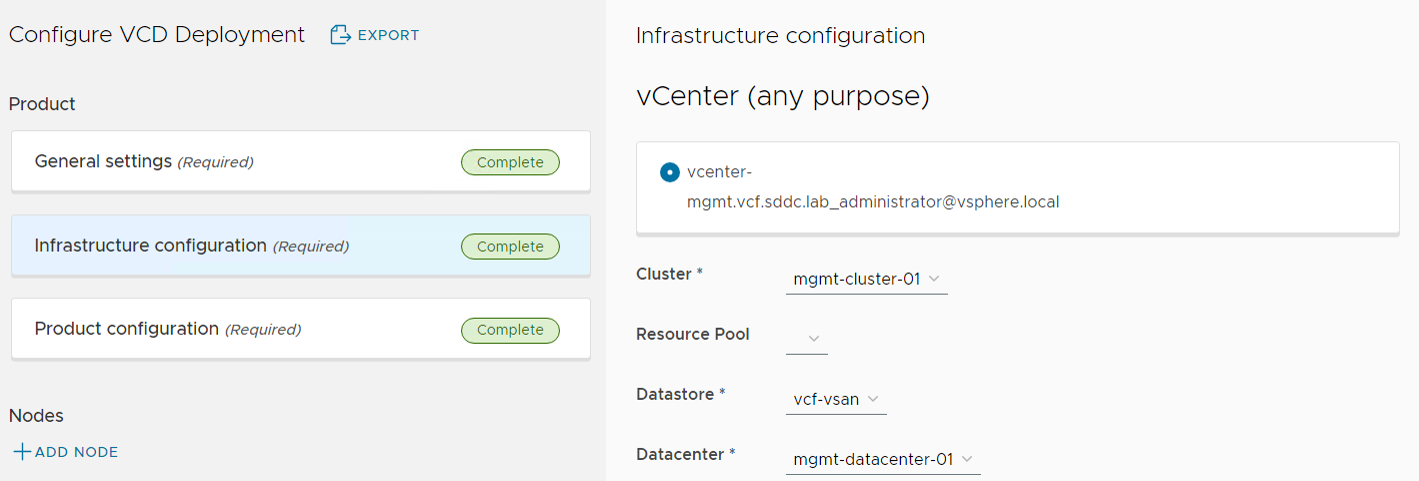
Selecting the Deployments tab and choosing Add New Deployment let me deploy VMware Cloud Director 10.5:

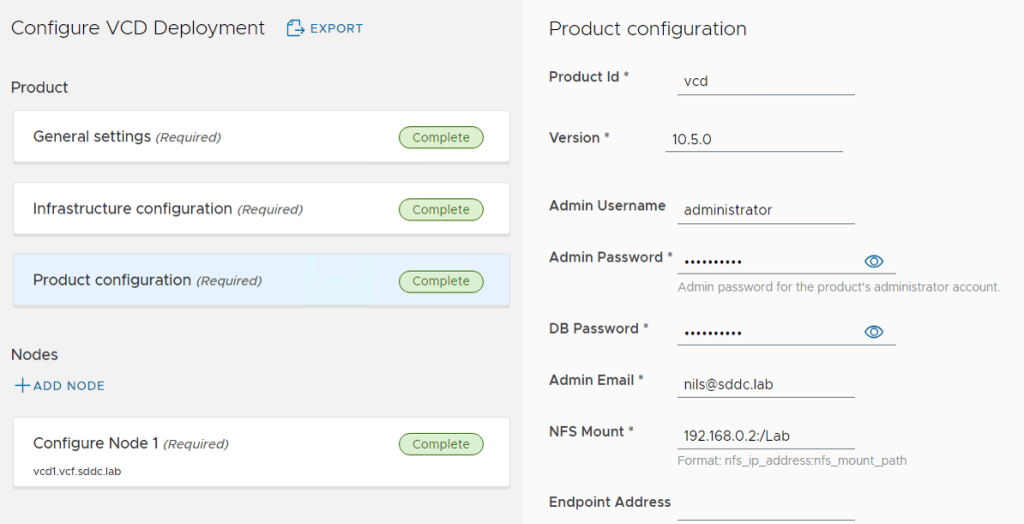
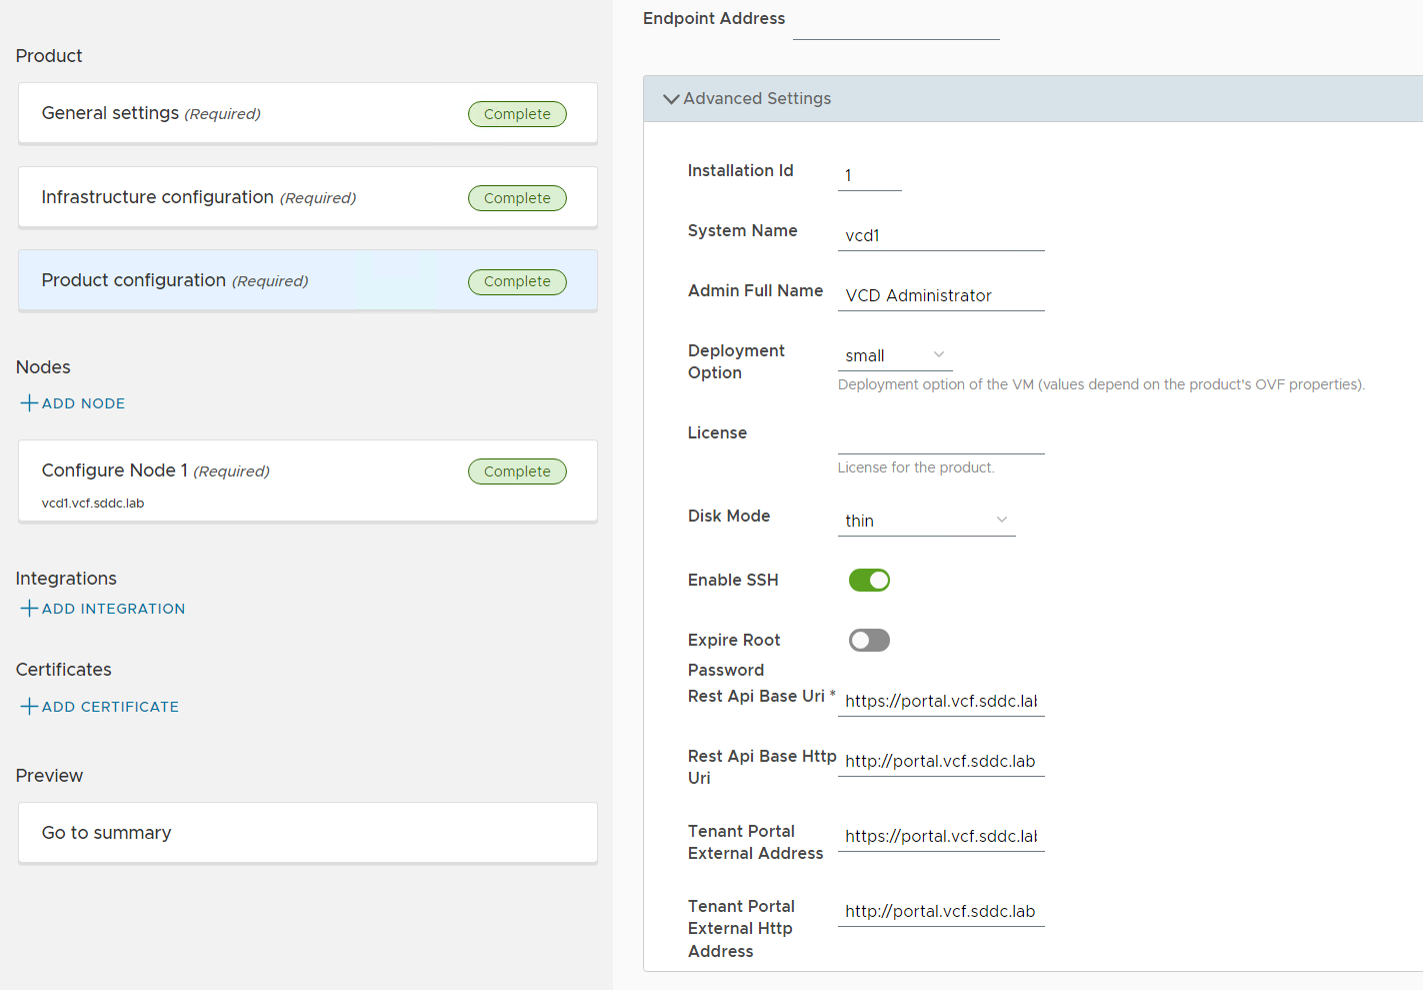
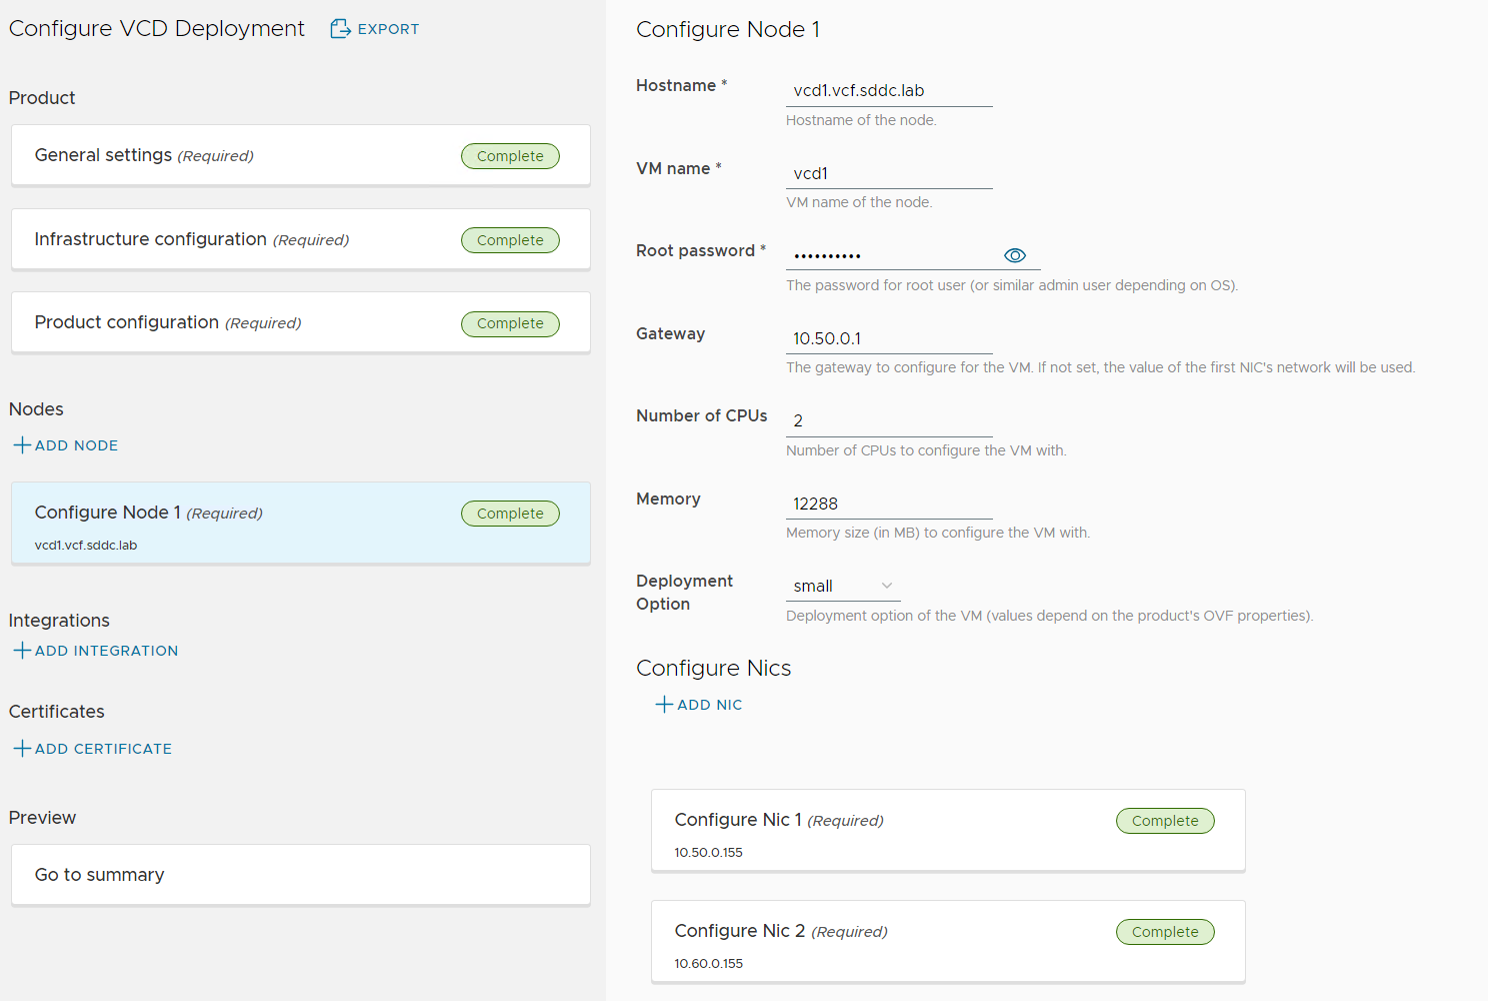

After filling inn all the details, I clicked on Validate and got validation result SUCCESS. Then I chose to click on EXPORT to export my config to a json file. This can be used for documentation purposes or used to redeploy at a later time. I selected Deploy to start the deployment. This gave me the following status screen where we can see all steps required to finish the task. Note the VIEW SUBTASKS LOG link on the right hand where we can see details about a subtask. This is very handy when troubleshooting a failed task. Note that you can also RESTART a failed task after fixing whatever caused it to fail.
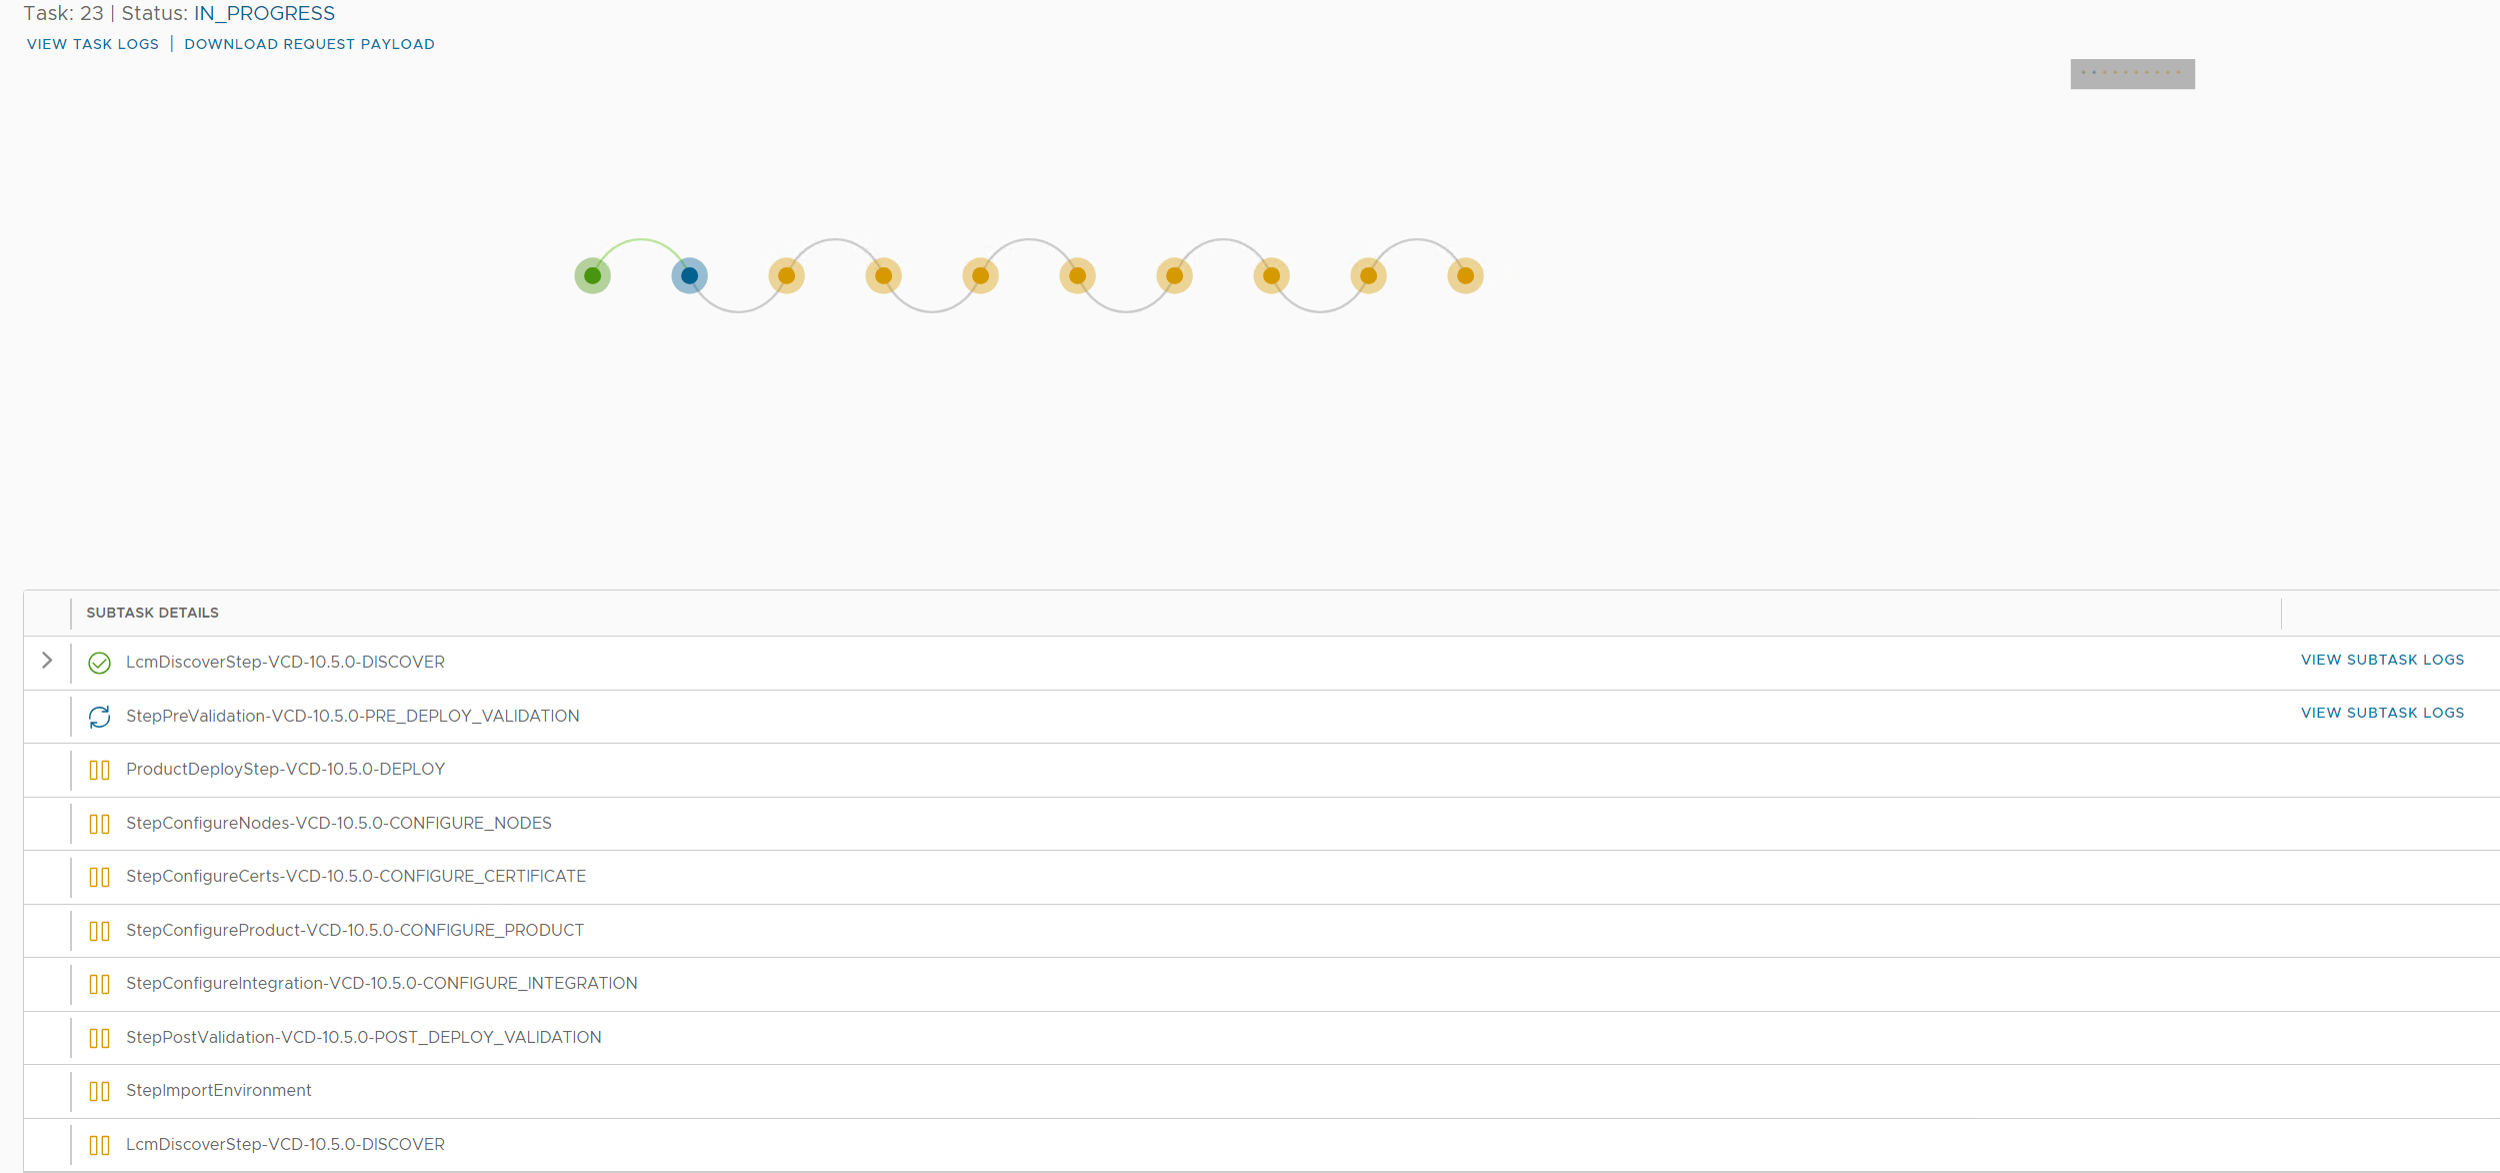
The Product Deploy Step failed after it had deployed the first VCD appliance, but I was able to log in to the appliance and check the /opt/vmware/var/log/firstboot log file and found that the appliance was unable to resolve itself in DNS. Nslookup worked fine from the appliance, and after some troubleshooting I found that it requires to resolve DNS records using TCP and not only using UDP. The command nslookup -vc vcd1.vcf.sddc.lab confirmed that it could not resolve using TCP, and after fixing my DNS server to support TCP, I did another try and this time the deployment succeeded:
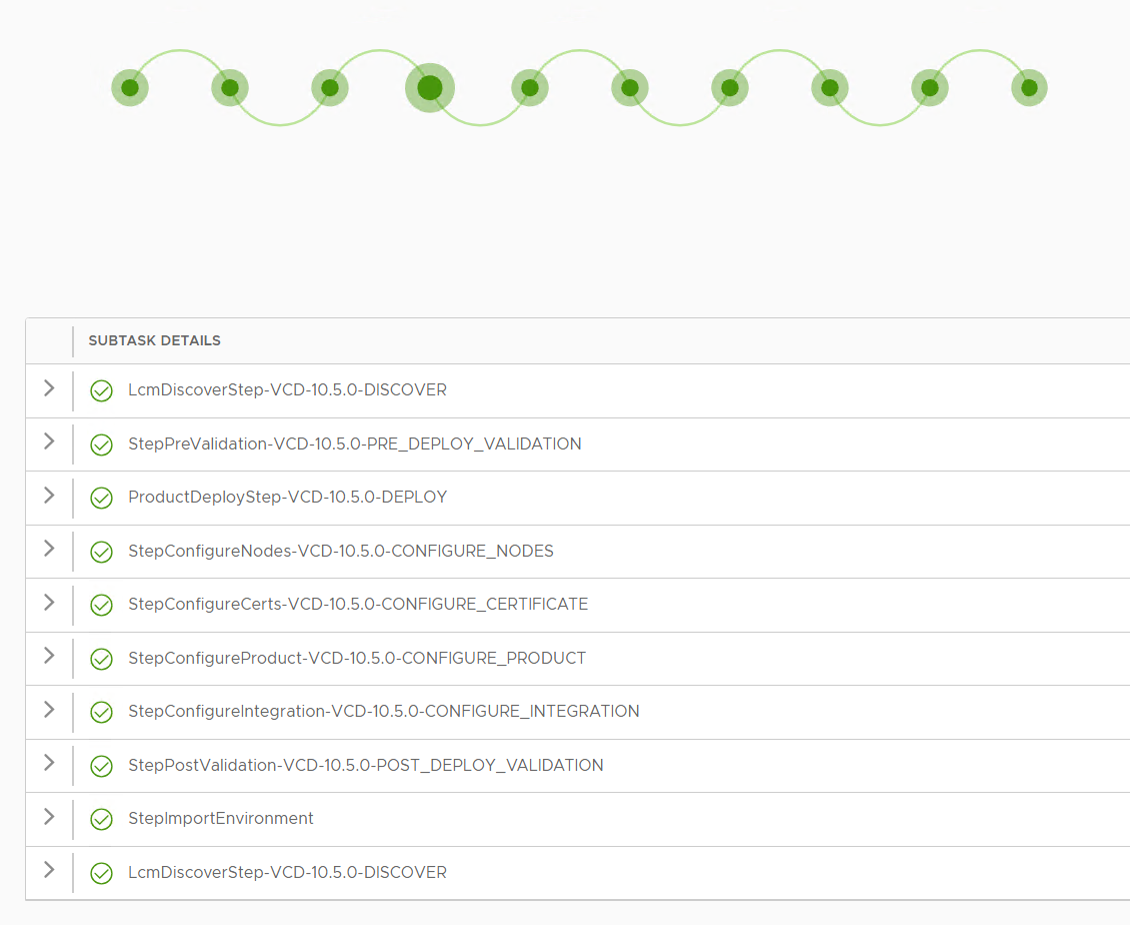
Expanding any of the Steps above will uncover quite an extensive list of subtasks taken care of by the Cloud Provider Lifecycle Manager. I don’t have experience with deploying Cloud Director manually but I am quite certain we can save quite some time using this deployment method.
Pointing my browser to https://portal.vcf.sddc.lab/ took me directly to the Cloud Director login page:
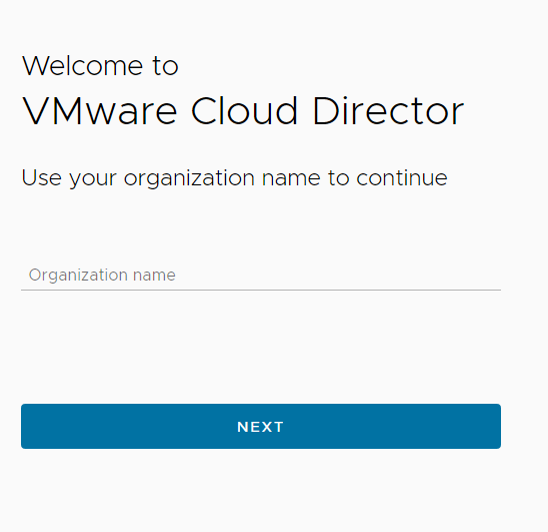
Since I didn’t have any Organizations configured yet I went to https://portal.vcf.sddc.lab/provider and logged in with Administrator to see if everything looked good:

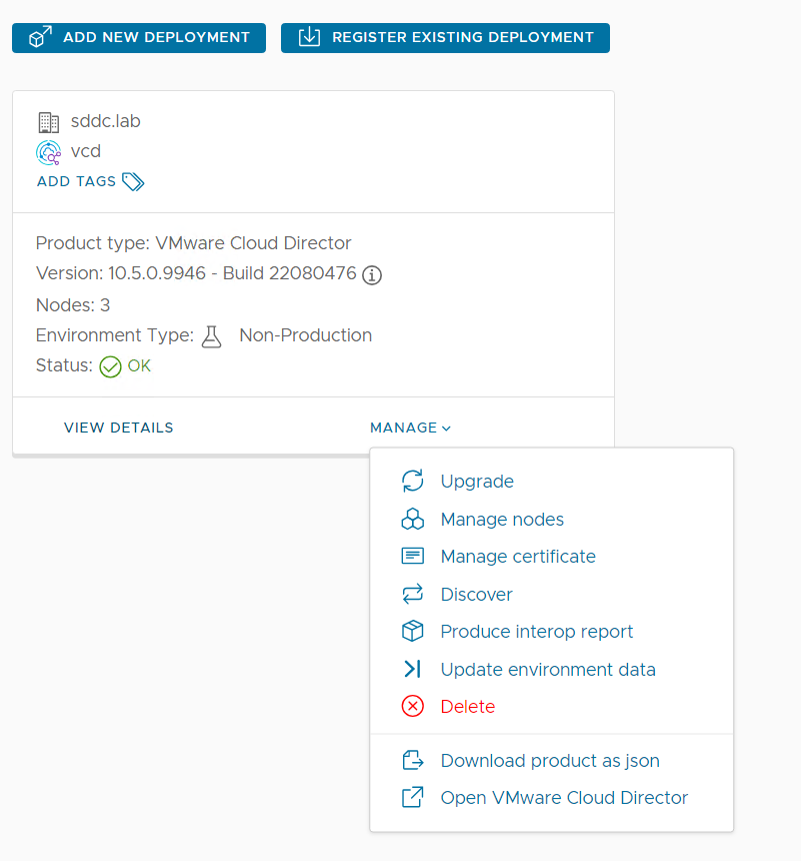
Looks like I have a blank VCD environment ready for action!
I also logged inn with root at https://vcd1.vcf.sddc.lab:5480/cluster to check the status of the appliances:
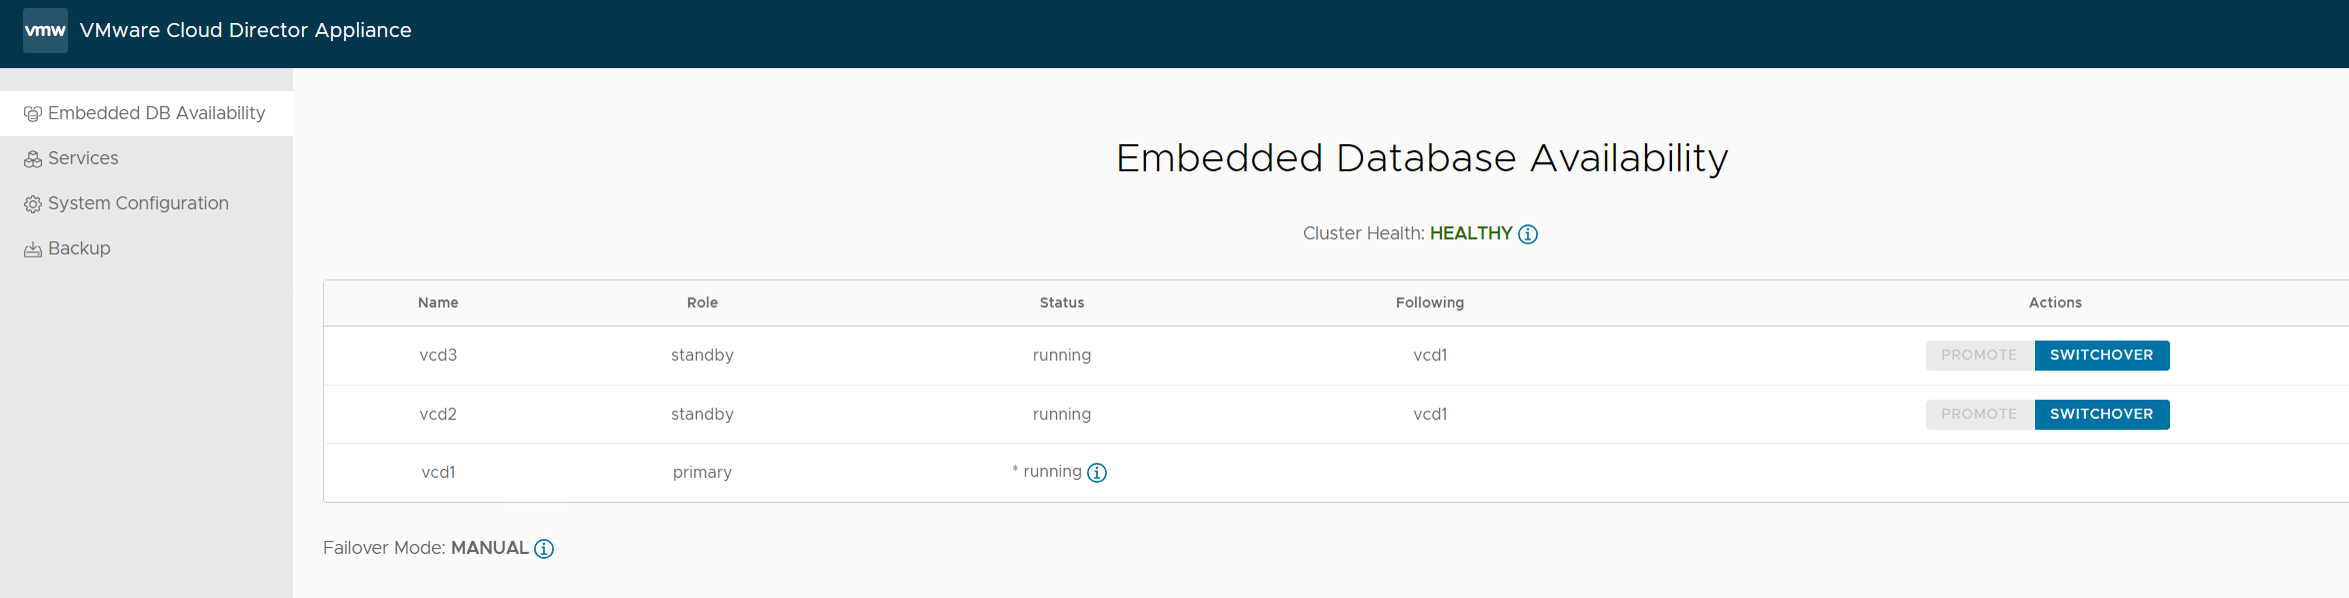

Seems like Cloud Provider Lifecycle Manager successfully deployed a healthy cluster with three Cloud Director cells.
I will now spend some time setting up Cloud Director and learn more about it.
